Thursday, June 26, 2008
Wednesday, June 25, 2008
Monday, June 23, 2008
Sand Writing
So I am still trying tricks to allow me to put what I want where I want it. The next in my list of things to do is writing on the beach, unfortunately all tutorials I have read do not meet the level of finish that I want (you can tell that it has been photoshopped and badly). I appreciate the time they have taken to do their tutorials and they have helped a little (at least point the direction?) but if anyone has a really good one, or knows a trick or two about it please please please let me know.
Friday, June 20, 2008
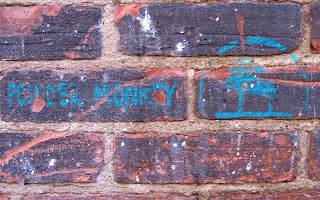
Brick Writing

The way I ended up doing was this, I first took an image of the brick wall, set it to the size I wanted then saved it.
Next I added the text, resaterized it, then filter->texturize->other texture->find the image you just saved (.psd file) and select it as the texture. For my image I set the light to above left, this just depends on the image make sure that the lighting is right or the image will look funny. Set the relief and such that there is texture.
I then blurred this layer a couple times with a gaussian blurr I think .08px and I ran it a couple times. I did the same steps with the image.
Next I opened up the saved texture file again and set the clone stamp somewhere on the image. The problem that I have found is that the text looked really plastic. Anyways I used the clone stamp so you can set a kinda fuzzy look. But use the stamp brush on a new layer to cover up pieces of the text/image to replicate the texture of the brick (where the brick is worn and chipped and whatnot)
Well I hope this helped at all.
Thanks for all those people out their who write amazing tutorials!
www.photospin.com/free_tips.asp?archivelD=61
www.foundmyself.com/forum/viewtopic.php?t=562
www.adobetutorialz.com/articles/922/1/Photoshop-Graffiti-Tutorial
And then tons of thanks to Pizza Dude for the font.
www.pizzadude.dk
And gomedia for the image of the wall
www.gomediazine.com


